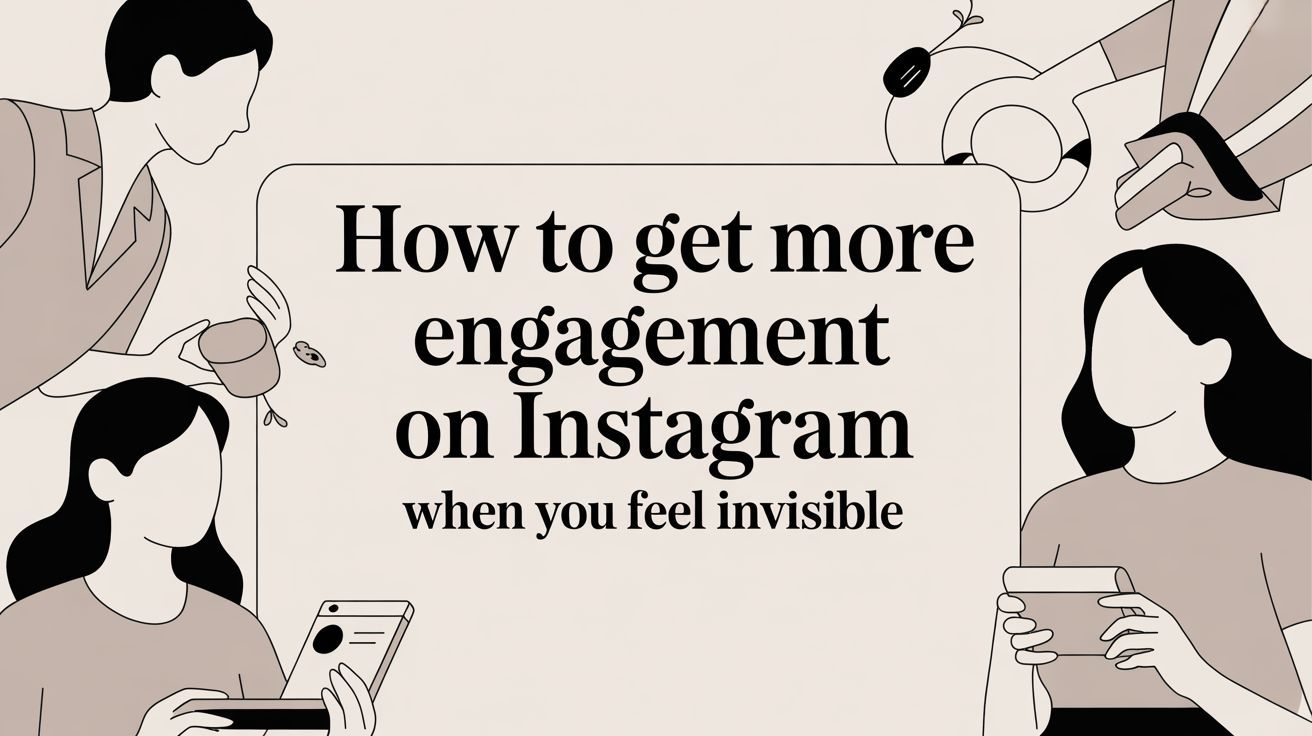
How to Write a Music Video Treatment That Sells Your Vision
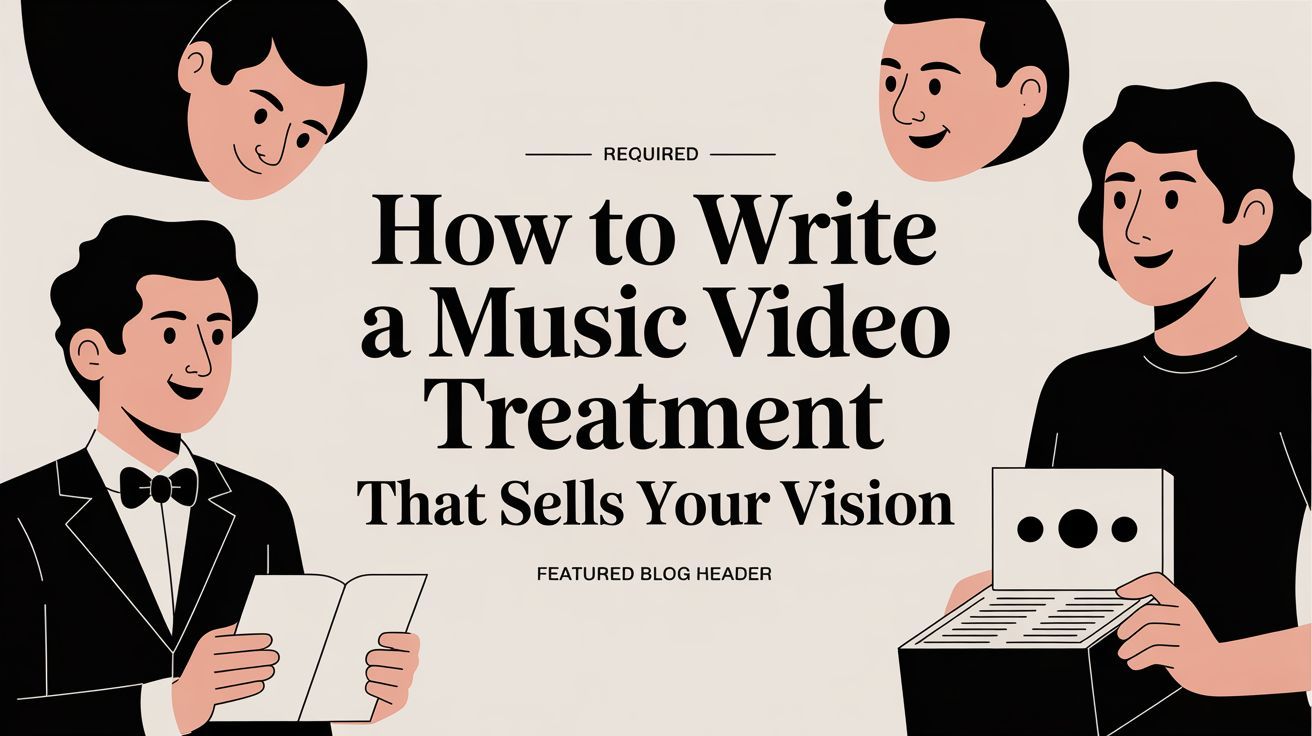
how to write a music video treatment
Welcome Offer! Get 56% OFF!


Ready to create AI images from text? This guide breaks down prompt writing, advanced settings, and pro tips to help you generate stunning visuals in minutes.
Welcome to the wild, wonderful world of AI image generation. If you've ever wished you could just think an image into existence, you're in the right place. Forget spending ages learning complicated design software or blowing your budget on a graphic designer. We're about to jump headfirst into creating stunning, unique AI images from simple text prompts—all in a matter of seconds.
The whole concept is refreshingly straightforward: you tell the AI what you want to see, and it gets to work. Think of it as your personal, on-demand artist who never needs a coffee break. For content creators, marketers, or anyone who just needs a great visual right now, this is a complete game-changer.
How does a string of words magically become a picture? It’s all about massive digital brains, or neural networks, that have been trained on an astronomical number of images and their corresponding text descriptions. They've seen it all—from "a fluffy cat sitting on a pile of books" to "a futuristic city at sunset in the style of Van Gogh."
When you type in your prompt, the AI digs through this vast internal library of concepts, objects, and styles. It then starts building a brand-new image, pixel by pixel, that matches your description. It’s not just grabbing existing images; it’s genuinely creating something new from its "understanding" of your words.
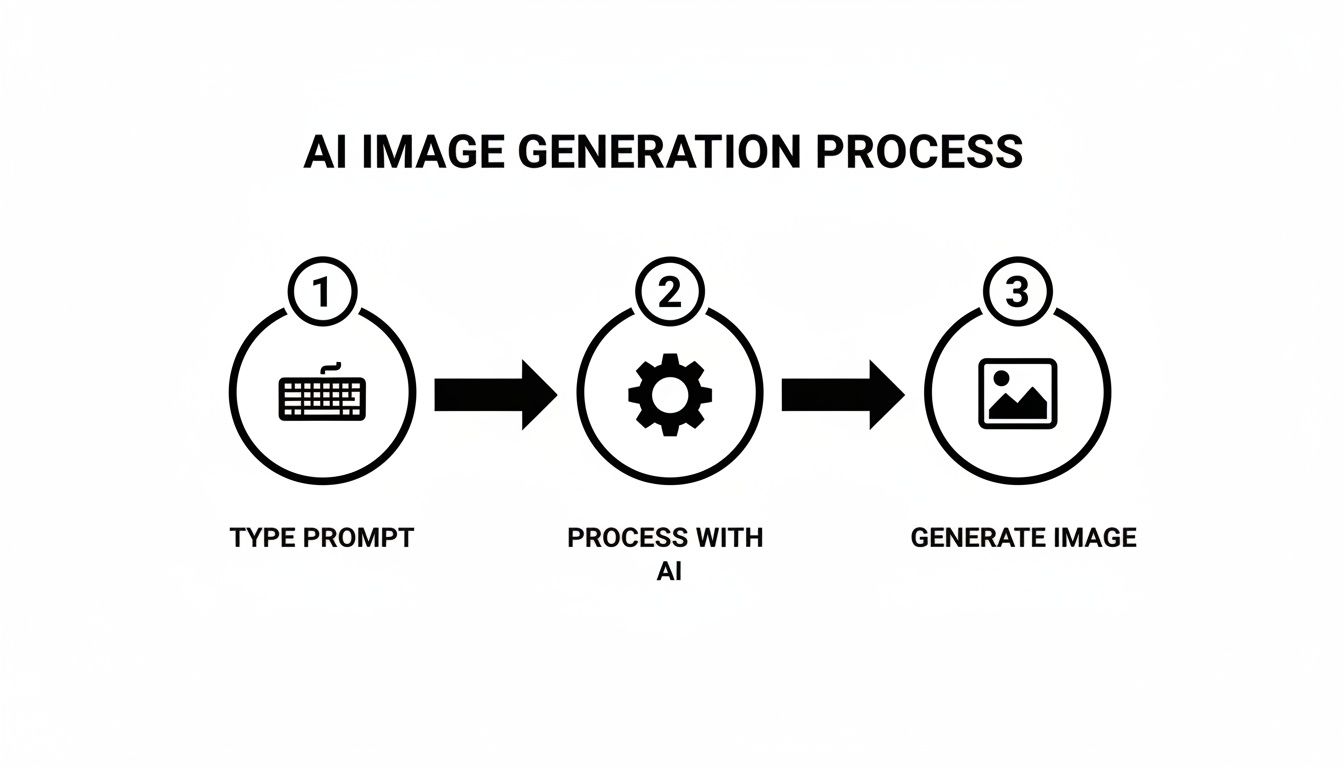
This simple type-and-create loop is the core of every text-to-image tool out there.
And believe me, this isn't some niche hobby. The growth has been explosive. The global AI image generator market leaped from $257.175 million in 2022 and is on track to hit a staggering $917.448 million by 2030. That's not just growth; it's a creative revolution.
Before we dive into the fun part—actually making images—let's quickly break down the key ideas you'll encounter.
| Concept | What It Means for You | Quick Tip |
|---|---|---|
| Prompt | This is your text command. The more descriptive and clear it is, the better your image will be. | Think like you're describing the scene to a blindfolded artist. Details matter! |
| Model | This is the specific "AI brain" doing the work. Different models have unique strengths (e.g., realism, anime, abstract art). | Experiment with different models to find one that matches the vibe you're going for. |
| Generation | This is the process of the AI creating the image. You can often generate multiple versions from one prompt. | Don't be afraid to run a few generations. The first one isn't always the winner. |
| Upscaling | This is a post-processing step to increase the image's resolution and detail, making it sharper and ready for use. | Always upscale your final image if you plan to use it for anything more than a small thumbnail. |
Getting these basics down will make the whole process feel much more intuitive.
The good news is you don't need a degree in computer science to get started. Platforms like our own at SendFame are built to be super intuitive, letting you focus on the fun part: your ideas. Whether you need a killer hero image for your blog, a scroll-stopping social media graphic, or just a cool new profile picture, the only limit is your imagination.
This guide will walk you through every step. We’ll cover everything from writing prompts that get results to fine-tuning your settings like a pro.
Ready to see what you can dream up? Check out some of the best AI image generation tools to get a feel for what’s possible, or dive right in and give our AI image generator a try
If you want to create AI images from text that genuinely stop people in their tracks, you have to unlearn how you normally give instructions. This isn't about barking out a simple command. It's about becoming a storyteller, painting a vivid picture with your words for an incredibly talented—but very literal—artist.
The quality of your prompt is the #1 factor that separates a generic, forgettable AI image from a jaw-dropping masterpiece.
Think about it. If you just say "a cat," the AI will shrug and give you... a cat. But is it a fluffy Persian kitten batting at a dust mote in a sunbeam? Or a sleek black panther stalking through a neon-drenched cyberpunk city? The AI has no idea. You’re the one who has to tell it.
This is where the real fun begins. You're the director, the set designer, and the cinematographer, all rolled into one.
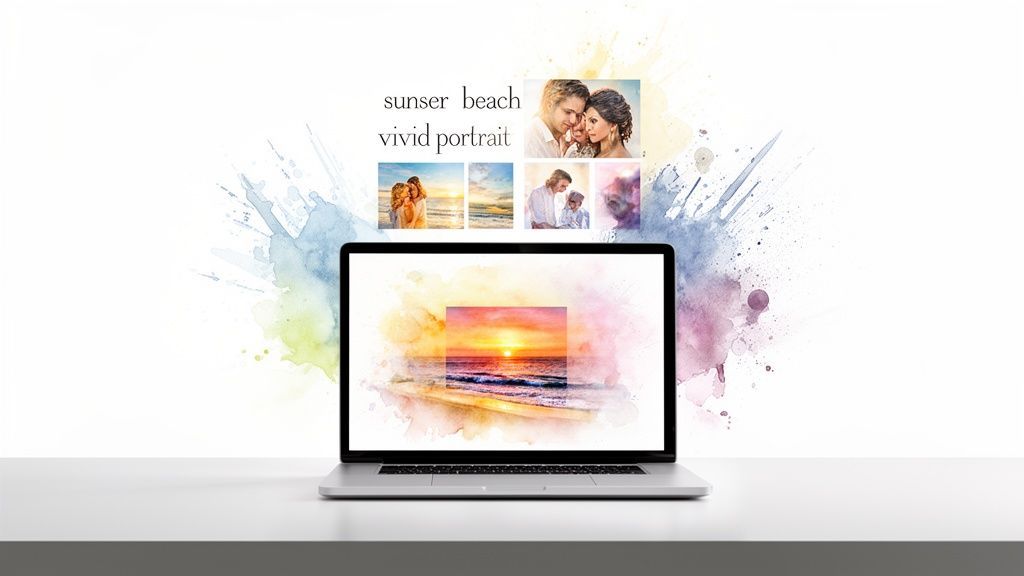
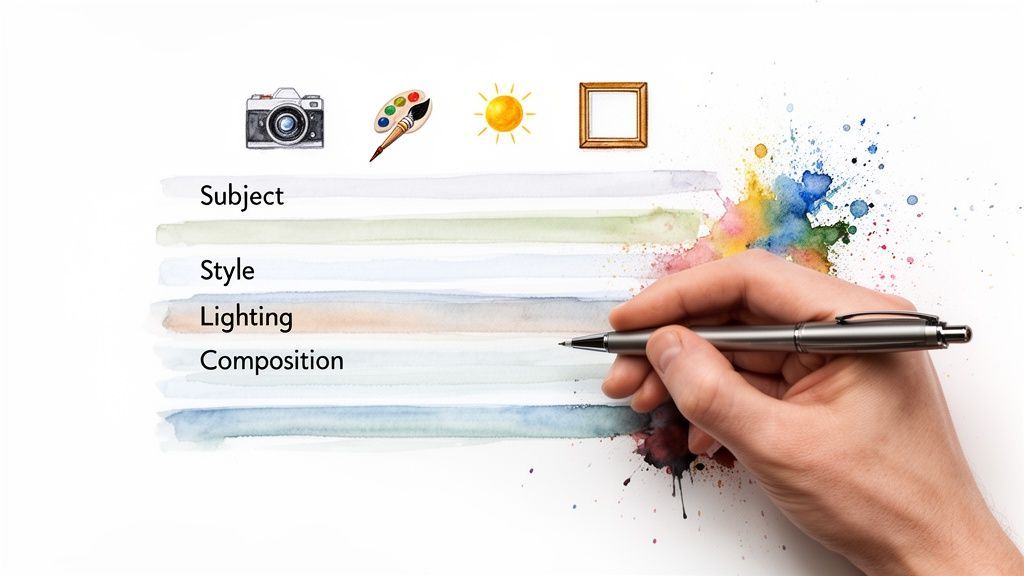
The most effective prompts are built in layers, starting broad and getting more and more specific. A fantastic formula to get you started is Subject + Action + Setting + Style. It’s simple, but it forces you to cover the most critical elements right out of the gate.
Let's unpack that:
Subject: Who or what is the star of your show? "A woman" is okay, but "a young female astronaut with fiery red hair" is way better. Specificity is king. Action: What’s the subject doing? "Standing" is boring. "Floating weightlessly while sipping coffee from a zero-gravity pouch" instantly tells a story. Setting: Where is all this happening? "In a spaceship" is a good start. "Inside a spaceship cockpit with a stunning view of Earth below" adds context and visual drama. Style: This is your artistic direction. It’s a total game-changer. Are you going for photorealistic, a watercolor painting, a slick anime style, or a gritty cyberpunk vibe?
Put it all together, and your prompt evolves from a vague "an astronaut" to "A young female astronaut with fiery red hair, floating weightlessly while sipping coffee from a pouch, inside a spaceship cockpit overlooking the Earth, photorealistic." The difference in the final image will be night and day.
Okay, you've got the core idea down. Now it's time to add the pro-level details that really make an image sing. This is how you control the mood, the quality, and the overall composition.
The best AI prompts often read like a shot list from a movie director's script. They don't just describe what's there; they set a mood and tell you where to look.
Sprinkle in some of these powerful modifiers to take control:
Lighting: Words like cinematic lighting, soft morning light, dramatic backlighting, or neon glow have a massive impact on the final feel. Camera Angle: Do you want a sprawling wide-angle shot, an intimate close-up portrait, or a sweeping drone's-eye view? Specifying the angle gives you immense power. Color Palette: Guide the entire color scheme with phrases like vibrant colors, monochromatic black and white, or pastel palette. Detail Level: Push the AI to work harder. Adding terms like hyperdetailed, intricate, or 8k resolution tells it you want a high-quality, polished result.
Let's upgrade our astronaut prompt again: "A young female astronaut with fiery red hair, floating weightlessly while sipping coffee, inside a spaceship cockpit overlooking the Earth, soft morning light filtering through the window, photorealistic, hyperdetailed, wide-angle shot." Now we're cooking.
Sometimes, what you don't want is just as important as what you do. AI models can get a little weird, adding bizarre artifacts you never asked for—think six-fingered hands, mangled text, or blurry backgrounds.
This is where negative prompts save the day. A negative prompt is simply a list of things you want the AI to actively avoid. Most image generation tools, including SendFame, have a dedicated field just for this.
Here are some of my go-to negative prompts that work wonders:
ugly, deformed, blurry, bad anatomy, bad proportions extra limbs, extra fingers, disfigured, poorly drawn hands text, watermark, signature, username low quality, jpeg artifacts, grainy, noise
Think of negative prompts as guardrails. They help clean up your images and keep the AI focused squarely on your vision, steering it away from common glitches. If you're serious about your creations, learning how to properly generate AI images with a smart combination of positive and negative prompts is non-negotiable.
To help you hit the ground running, I've put together a few battle-tested prompt structures. Don't just copy and paste them—use them as a launchpad for your own ideas on SendFame.
Use these battle-tested prompt structures as a starting point for your own AI image creations on SendFame.
| Goal | Prompt Structure Template | Example |
|---|---|---|
| Realistic Portrait | Close-up portrait of a [subject], [expression], [lighting style], natural skin texture, detailed eyes, shot on [camera type], 8k, photorealistic | Close-up portrait of an elderly fisherman with a weathered face, smiling warmly, golden hour lighting, natural skin texture, detailed eyes, shot on a Sony A7III, 8k, photorealistic |
| Whimsical Scene | A whimsical illustration of a [subject] in a [setting], [art style], vibrant color palette, intricate details, storybook feel | A whimsical illustration of a fox wearing a top hat reading a book in a magical forest library, watercolor and ink style, vibrant color palette, intricate details, storybook feel |
| Product Mockup | A bottle of [product type] on a [surface], studio lighting, clean background, commercial photography, minimalist style, sharp focus | A bottle of luxury perfume on a marble countertop, soft studio lighting, clean white background, commercial photography, minimalist style, sharp focus |
The best way to learn is by doing. Experiment with these templates, swap out the subjects, mix and match styles, and see what happens. The more you play, the more intuitive this whole process becomes, and before you know it, you'll be crafting incredibly complex and stunning prompts without even thinking about it.
A killer prompt gets you in the door, but mastering the settings is how you truly take charge. Think of your prompt as the script, but the settings are your director's toolkit—this is where you control the camera angles, the lighting, the artistic style, and all the little details that bring your vision to life.
If you ignore these dials and sliders, you’re basically trying to cook a gourmet meal with the oven stuck on a single temperature. You might get something, sure, but you'll miss out on the magic. Let's dive into the most important settings you'll find in tools like the SendFame AI image editor so you can get total creative control.
This kind of fine-tuned control is a huge reason the AI image generator market is exploding. Seriously, projections show it soaring from USD 9.10 billion in 2024 to an incredible USD 63.29 billion by 2030. That massive jump is being driven by creatives and marketers like us who demand more powerful, hands-on tools.
Before the AI even thinks about drawing, you need to tell it what shape your canvas is. The aspect ratio is just the relationship between the image's width and its height. Nailing this at the start saves you from a world of awkward cropping later.
Here’s a quick rundown of the usual suspects:
1:1 (Square): The undisputed king of Instagram grids and profile pics. It's clean, balanced, and just works. 16:9 (Widescreen): This is your go-to for anything that will live on a wide screen—think YouTube thumbnails, hero images for blog posts, or presentation slides. It just feels epic. 9:16 (Vertical): Welcome to the world of mobile. This is the format for Instagram Stories, TikToks, and Reels, filling the entire phone screen for maximum impact. 4:3 (Standard): A classic photography format that’s a nice middle-ground between a square and a widescreen rectangle.
Once you’ve got the shape, you need to think about resolution—the number of pixels in the image. More pixels mean more detail, but it can also mean a longer wait time for your generation. A great starting point for most web stuff is around 1024x1024 pixels for a square image. You can always upscale it later if you need a print-quality version.
This is a big one. Think of an AI model as an artist with their own signature style. The exact same prompt fed into different models will give you completely different results. This is probably the single most powerful setting for changing the entire vibe of your creation.
Most tools have a dropdown menu of models. Here’s a breakdown of the common types you'll encounter:
| Model Type | Best For | What to Expect |
|---|---|---|
| Photorealistic | Lifelike portraits, product mockups, realistic scenes | Insanely detailed images that look like they were snapped with a high-end camera. |
| Anime / Manga | Character designs, fan art, stylized illustrations | All the classic anime feels, from modern and vibrant to retro '90s vibes. |
| Painterly / Artistic | Abstract art, digital paintings, concept art | You'll see brush strokes, canvas textures, and styles that mimic famous art movements. |
| 3D / Render | Game assets, character models, futuristic designs | Smooth, sleek, computer-generated looks you'd find in video games or animated movies. |
A pro tip? Don't be afraid to run the exact same prompt through three or four different models. You’ll be blown away by how one click can transform a photorealistic portrait into a vibrant anime character or a moody oil painting. This experimentation is where the fun really starts.
Remember, the model you choose changes how the AI interprets your prompt. A command for "cinematic lighting" will look totally different in a photorealistic model than it will in an anime one.
Alright, let's get into the weeds. These two settings give you granular control over the final output.
Steps (sometimes called "Inference Steps") tells the AI how many times to refine the image as it works its way from a fuzzy mess of noise to your finished picture.
A lower number (20-30) is faster and perfect for banging out quick drafts. A higher number (50+) takes more time but can bake in more delicious detail and texture.
The CFG Scale (Classifier Free Guidance) is basically a leash for the AI. It controls how strictly it has to follow your prompt.
A low CFG (like 4-6) gives the AI more creative freedom. The result might be more artistic and unexpected, but it could also ignore parts of your prompt. A high CFG (like 8-12) forces the AI to stick to your instructions like glue. This is great when you have a very specific vision, but push it too far and the image can look a bit rigid or "over-cooked."
A CFG of 7 is usually a fantastic starting point. From there, you can nudge it up or down depending on whether you're feeling more artistic or more precise. Getting comfortable with these settings is what separates the novices from the pros, turning you from a passenger into the pilot of your creative journey.
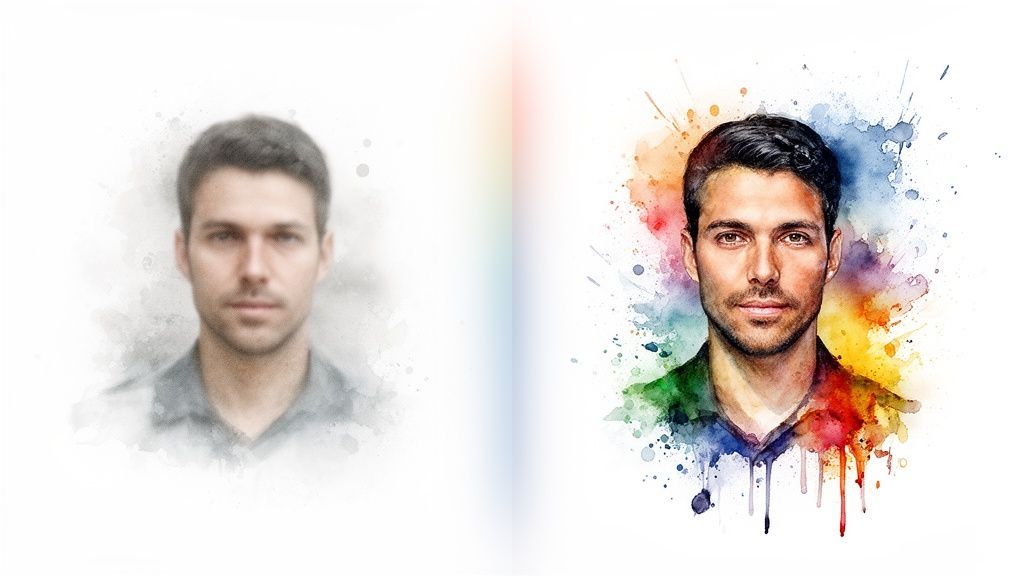
So you did it. You wrestled with the prompt, fiddled with the settings, and finally, the AI spat out an image that's almost perfect. It's 90% of the way there, but that last 10%... that’s what separates a cool experiment from a professional-grade asset you can actually use.
This final polish is where the real artistry comes into play.
Getting a great image straight from a text prompt is just the beginning. The raw output is your block of marble; now it's time to chisel it into something truly special. A little post-processing can fix those weird little artifacts, make the colors pop, and transform a good image into a great one. This is how you take your initial concept and give it that final, human touch.
And no, you don't need to break the bank on fancy software. A ton of incredible work can be done with free and accessible tools.
Think of this as your digital finishing studio. Once you've got your image, a few simple adjustments can make a world of difference. The goal isn't to fundamentally change the picture, but to enhance what the AI already gave you.
You don't need a full Adobe subscription to get professional results. Simple, often browser-based editors, can handle the most important tasks with ease.
Here's what I almost always focus on:
Color Correction and Grading: AI models can sometimes produce images that look a bit washed out or have a weird color cast. A quick trip into an editor to tweak the brightness, contrast, and saturation can instantly inject life and drama into your work. Sharpening: AI images, especially at lower resolutions, can sometimes come out a little soft. Applying a subtle sharpening filter brings out those fine details and makes the whole thing look crisper and more defined. Minor Touch-Ups: Did the AI add a weird blob in the corner or a slightly misshapen finger? A simple spot healing or clone tool can erase these small imperfections in seconds, cleaning up the final composition.
The most impactful edits are often the most subtle. You're not trying to make people notice the editing; you're trying to guide their eye and enhance the mood. A tiny tweak to the shadows or a slight boost in vibrance can completely change the emotional feel of an image.
Alright, you’ve got a fantastic image, but it's only 1024x1024 pixels. That’s fine for an Instagram post, but what if you want to print it on a poster or use it as a full-screen website banner? Just stretch it out, and you'll get a blurry, pixelated mess.
This is where AI upscalers come to the rescue.
Unlike old-school resizing that just makes the pixels bigger, AI upscalers use machine learning to intelligently add new detail. They analyze the image and basically "imagine" what the high-resolution version should look like, filling in the gaps with sharp, clean data. The results can be jaw-dropping, turning a small web graphic into a print-ready file.
This completely changes the game. It allows you to:
Generate concepts quickly at a lower resolution, saving you a ton of time and resources. Pick your winning image from the initial batch of generations. Upscale only the final choice to a massive resolution (2x, 4x, or even higher) for maximum quality.
This workflow is incredibly efficient. It lets you experiment freely without waiting ages for massive, high-resolution images to generate every single time. By combining your ability to create AI images from text with a smart post-processing and upscaling strategy, you build a powerful, professional creative process.
Let's be real. Even with a killer prompt and perfectly tuned settings, sometimes the AI just decides to go on a creative bender. You ask for a majestic portrait, and it gives you a face with three eyes. You try to create a simple, peaceful scene and end up with something that looks like a surrealist nightmare.
Don't sweat it. This is a totally normal part of the process when you create AI images from text.
These oddities aren't failures; they’re just the AI showing its seams. The most common culprits? Hands with way too many fingers, faces that look like they're melting, and text that resembles some forgotten alien language. Getting a handle on why these things happen is the first step to fixing them.
The whole field is exploding, with models getting smarter by the day. The AI image generator market was valued at USD 2.39 billion in 2024 and is expected to rocket to USD 30.02 billion by 2033. That incredible growth is happening because creators like us are demanding better, more reliable tools to get past these exact problems. You can dig into more AI image generator market growth stats on skyquestt.com if you're curious.
Alright, let's tackle the most infamous issue first: those wonky hands and distorted faces. AI models learn from billions of images, but here's the thing—they don't actually understand anatomy like a human artist does. They're just ridiculously good pattern recognizers, and the sheer complexity and variety of human hands can throw them for a loop.
Your first line of defense is always your prompt. If you're getting some truly bizarre results, it’s time to get a little more specific with your instructions.
Quick Fixes for Funky Anatomy
Make Negative Prompts Your Best Friend: This is your secret weapon. Seriously. Add a negative prompt like deformed hands, extra fingers, malformed, mutated, disfigured, bad anatomy to tell the AI exactly what you don't want to see. Roll the Dice a Few Times: Don't just generate one image and give up. Create a batch of four or five options. More often than not, one or two will come out looking way better than the others, giving you a solid starting point. Simplify the Pose: If the AI is really struggling with a complex hand gesture, try prompting for something easier. Think "hands clasped behind back" or "hands in pockets." Sometimes, the easiest fix is to sidestep the problem altogether.
These simple tweaks can solve a surprising number of anatomical weirdnesses without you ever having to leave your AI generator.
Sometimes the image isn't anatomically wrong, it’s just… conceptually baffling. You ask for a "knight riding a dragon" and get a dragon squeezed into a suit of knight's armor. This usually happens when your prompt is a bit too ambiguous or mashes together concepts the AI can't quite piece together logically.
The trick here is to simplify and clarify. Break your big idea down into smaller, more direct chunks.
When your prompt gets misinterpreted, you have to think like you're giving directions to a robot that takes everything literally. Be painfully, almost insultingly clear. For example, "A knight is sitting on the back of a dragon" is much less ambiguous than "a knight riding a dragon."
Another classic problem is the AI's total inability to write. If you need a sign in your image that says "OPEN," prompting for it will almost always result in garbled nonsense. The AI just sees letters as interesting shapes, not as a system of language.
For now, the best workaround is to generate the image without text, then pop it into a simple image editor to add the words yourself. It's a quick extra step that gives you clean, perfect text every single time.
Jumping into the world of AI art is an absolute blast, but let's be real: with great creative power comes great responsibility. When you create AI images from text, you're not just messing around with a cool new toy. You're exploring a new frontier, and that frontier has some murky ethical waters we need to navigate.
Thinking about this stuff isn't about getting bogged down in boring legal jargon—it's about being a good creator and a good human.
The first question everyone asks is about copyright. If an AI makes an image, who actually owns it? The honest answer is... it's complicated, and the rules are still being written.
Right now, the U.S. Copyright Office has basically said that if there isn't enough human authorship, a purely AI-generated image can't be copyrighted. This means you can use the images you make, but claiming you're the sole, exclusive owner is a legal minefield. It's something to keep in the back of your mind, especially if you plan to use your creations commercially.
This one's a bit more personal. It's incredibly tempting to type in prompts like "in the style of [famous living artist]," and the results can be mind-blowing. But we have to ask ourselves: is it fair?
An artist spends a lifetime developing their unique style. Using a machine to replicate it in seconds without their permission or a dime of compensation feels... well, a little sketchy.
Think of it this way: using an artist's name in a prompt is less like being inspired by them and more like asking a machine to create a high-tech forgery. It’s a powerful feature that should be used thoughtfully and with respect for the creative community.
A better, more ethical approach? Instead of naming names, describe the style you're after. Use adjectives like "impressionistic," "vibrant," "painterly," or "minimalist." It forces you to be more creative with your prompts and respects the hard work of human artists.
Beyond copyright and style-copying, there's the bigger picture: the potential for misuse. The same tools that whip up fantastical landscapes can also be used to create harmful or misleading content, often called synthetic media.
We're talking about deepfakes—realistic but completely fake images of people or events. The potential for damage here is huge, so it's on us, the creators, to use these tools for good. Stick to positive, creative projects and steer clear of anything deceptive. Want to dive deeper into this topic? We break it all down in our guide on what is synthetic media.
Ultimately, it all comes down to being a good digital citizen. By staying informed and making mindful choices, you're helping build a creative ecosystem that's healthy, sustainable, and respectful for everyone involved.
Even when you get the hang of it, a few questions always seem to pop up. Let's walk through some of the most common head-scratchers people have when they first start turning text into images. My goal is to clear up any confusion so you can get back to creating with confidence.
For the most part, absolutely! Whether you can use your creations for commercial projects comes down to the terms of service of the AI tool you're using. Many platforms, including our own here at SendFame, give you full commercial rights to the images you generate.
This means you’re free to use them for your marketing campaigns, social media ads, t-shirts, or whatever else your business needs. While the legal world is still catching up to AI art, you're generally safe for everyday uses like blog posts or advertising. Still, it's always a good idea to give the platform's policy a quick read before you go big.
Ah, the classic "AI hands" problem! You're not alone. This happens because AI models are trained on a truly massive library of images, but they don't grasp anatomy like a human does. They're pattern-matching machines, and something as complex and varied as a human hand can sometimes throw them for a loop, leading to… well, some nightmare fuel.
Think of it less as a mistake and more as the AI asking for a little more direction. It gives you a starting point, and your job is to nudge it toward the finish line with smart prompting and a bit of trial and error.
If you're getting six-fingered monstrosities, here are a few tricks I use:
Just try again: Seriously, sometimes a fresh roll of the dice is all it takes. Bring in the negative prompts: Tell the AI what you don't want. Add terms like deformed hands, extra fingers, blurry eyes, bad anatomy to keep it on the right track. Simplify the pose: Try prompting for something easier, like "hands in pockets" or "holding a coffee mug."
The good news is that the tech is improving at a wild pace, and these funky results are becoming less common. For now, it's just part of the fun.
The short answer? As detailed as you need to get the image in your head onto the screen. A lazy prompt like "a car" will get you exactly that—a boring, generic car. But get specific, and things get interesting. Try something like: "a vintage red convertible, cruising down a coastal highway at sunset, cinematic lighting, photorealistic, 8k detail." See the difference?
I've found the best approach is to build your prompt in layers.
Start with your core subject. Add an action and a setting. Then, sprinkle in details about the style, lighting, and mood.
The more information you give the AI, the more control you have over the final masterpiece.
Ready to put all this into practice? With SendFame, you can bring your wildest ideas to life in just a few seconds. Dive into our AI tools and show us what you've got. Start creating for free on SendFame.
Create Epic
SendFame
Create Epic with SendFame!
Questions: info@sendfame.com